
This site is designed to work with all modern browsers, but is best when used with Google Chrome. Other supported browsers include Firefox, Microsoft Edge, and Safari on Apple computers. Microsoft Internet Explorer is not recommended as it is no longer supported by Microsoft and so is considered to be insecure. If you are still using Internet Explorer, it is highly recommended that you download Chrome or one of the other supported browers and install it.
In order to use this site you must be a participant in the Montana Seed Potato Certification Program. If you are already a participant you need to provide a valid email address to Steve Hystad so that your account can be activated. Once your account is activated you will need to change your password, you can do this by clicking on the "Forgot Password" link on the log in page.
[DESCRIPTION OF HOW TO BECOME A PARTICIPANT HERE]
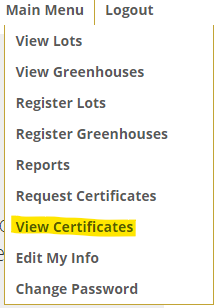
You can edit your account information by hovering over the "Main Menu" link at the top left of the screen.
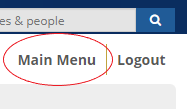
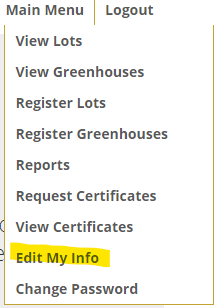
Hovering over this will cause a menu to display, select "Edit My Info" and you will be taken to a page which allows you to edit the information about yourself and your business.
You can edit the following items:
If you wish to change your business name please contact Steve Hystad
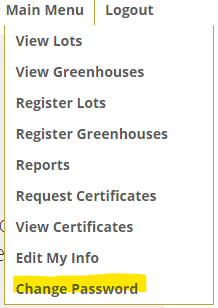
From time to time you should change your password to ensure the security of your data. You can change your password by hovering over the main menu and choosing "Change Password".
This will take you to a page where you need to enter your current password and then enter your new password. Pay attention to the password strength meter, it provides an accurate idea of how difficult your password is to crack.
Lots are used to keep track of what you have planted and allow you to see inspection and test results. To access your lots, hover over the main menu and select "View Lots".
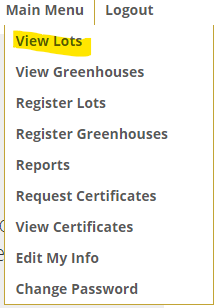
When you select this item, you will be shown a page which looks like this:

If you are a memeber of a grower group, in addition to yourself you will see the other growers that are part of your group.
To view information about your lots, click on the business name of the the lots you wish to examine. This takes you to a page which shows all of the lots you have created. The grid used to display these lots allow you to filter them by column values by clicking on the funnel icon in each column header.

When you click on the filter icon, a menu will be shown which allows you to choose search methods appropriate to the data type (string, number, or discrete values) and an input field which allows you to enter the value you are searching for.
To view inspection and lab test results click on the "Details" button associated with a lot. This will take you to a page which shows the lot information and the inspection and lab test results. To view the inspection results click on the small triangle at the left of each inspection. This expands the inspection so that you can see the results for each disease inspected for. As information about a lot cannot be edited once a lot has been registered, contact the certification program if you need to change information about a lot.
To create lots (or greenhouses), first click on the "Create Lots" or "Create Greenhouses" button on the manage lots home page. This will take you to a page which asks for some information which will be shared among a group of lots. This information is:
Once you have entered this information, you are ready to create lots. To do this click on the "New Lot" ("New Greenhouse") button and a new lot will be created using the data you provided in the form. At this point, you will need to provide the field identifier, the number of acres (plants) and the date planted. Once you have provided these bits of information, click on the "Update" button to save the lot, or the "Cancel" button to cancel the creation of the lot.
At any time, you can change the parameters of the lots you are creating by changing the values in the form and clicking on the "New Lot" button to continue creating lots with the new values.
Once all of your lots have been created you need to register them with the system. To do this click on the "Register Lots" ("Register Greenhouses") link at the bottom of the create lots page, click on the "Register Lots" ("Register Greenhouses") button on the View Lots home page or select the Register Lots item from the main menu. If you have lots that a being grown from seed which was not from your stock you should have a scanned image of the shipping tag you received with your seed shipment.
On the registration page you will see a list of lots that need to be registered. If a lot requires a shipping tag, the "Upload" button will be enabled and will show an arrow pointing up, indicating that a shipping tag needs to be uploaded. Once a a tag is uploaded a check mark icon will be displayed. You can also double check and edit the information you entered for your lots by clicking on the Edit button. If any lots were entered incorrectly, they can be deleted by clicking on the Delete button.
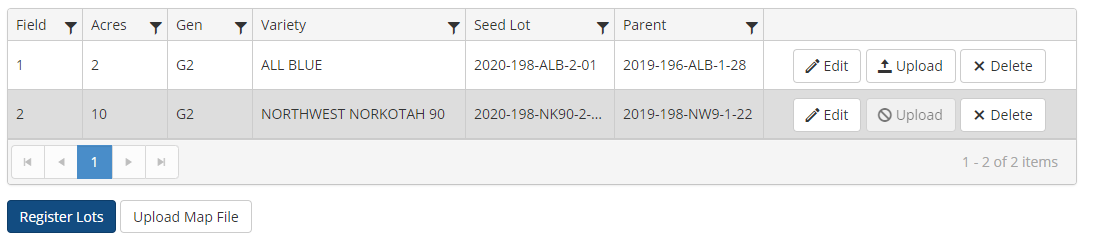
If you have any maps of your field locations you can upload an image of those maps on this page by clicking on the "Upload Maps" button. This will display a popup which allows you to choose the file you want to upload and to specify which of your fields are represented in the map. Note that at least one field identifier is required per map uploaded.

Once necessary shipping tags and maps are uploaded click on the Register Lots button to register all of you lots.
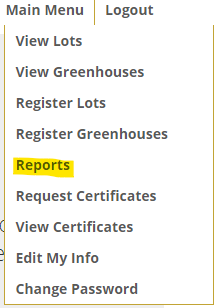
Once you are completely finished entering your lots click on the "Reports" item in the Main Menu
The will take you to the reports home page. Once there select the Print Fees item.
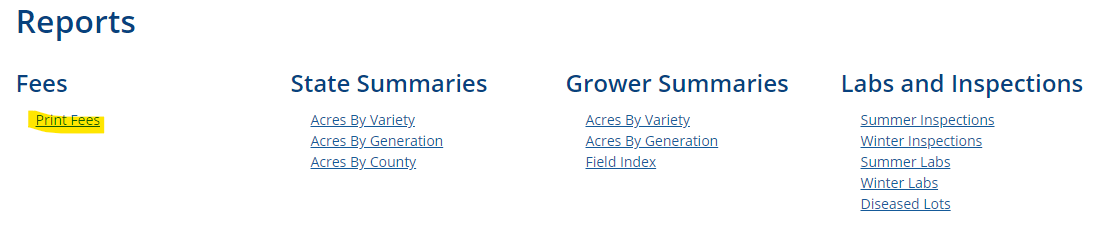
This will take you to a page which displays the invoice for your fees. Print it by selecting the printer icon, which displays the same report as a .pdf file. Choose the printer icon on this second window to print the invoice.
Clicking on the Reports item in the main menu will take you to a page which makes a variety of reports available. The grower summaries will provide summaries of your plantings and the field index provides a list of all the lots you have registered with the certification program. The inspection and lab results allow you to view all of your lab and inspection results. The diseased lots report will inform you of any lots which are outside of tolerances for their generation.
Health certificates can be requested for any lot by clicking on the "Request Certificates" item in the main menu.
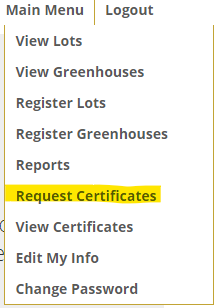
This displays a list of lots of generation 2 and above that do not have certificates requested yet. If you need a certificate for a nuclear or generation 1 lot, check the "Show all generations" checkbox.
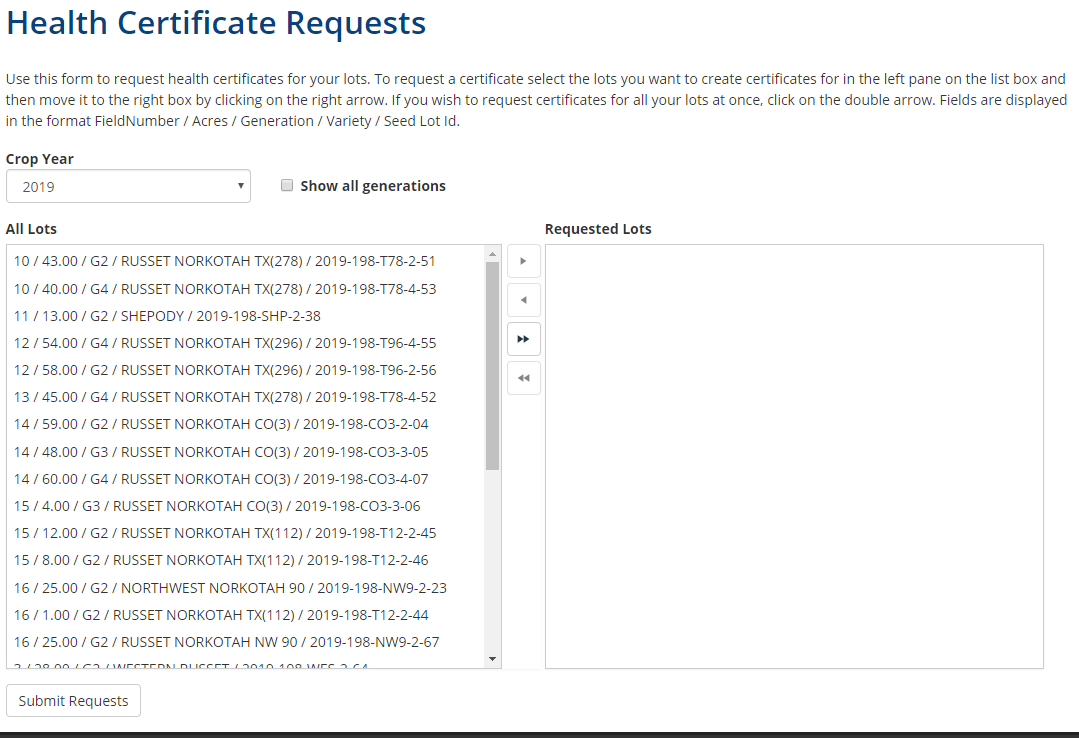
The main control is the list box which allows you to select which lots you want to request certificates for. Selecting a lot in the left box and moving it to the right hand box with the right arrow buttons in the middle. If you want to request certificates for all of your lots, use the right double arrow button to move all of them. Similarly you can deselect lots by moving them from the right box to the left box. Once you have made your selections click on the submit button at the bottom of the page to complete the request.
To view your approved health certificates, choose the "View Certificates" item from the main menu.
A grid containing all of your approved health certificates will be displayed. You can view a certificate by clicking on the "View" button. If you want to print a certificate, first view it and then use your browser's PDF print function (generally clicking on the printer icon) to print the document.